
Commerce
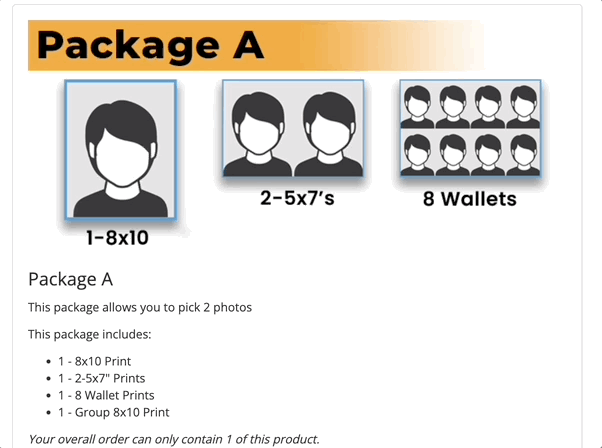
You want a way to combine products in a multitude of endless variations? You can do it! Create a package and bundle products together to advertise special offers and deals.
|
|
Notes:
|
Create a Package
- Click on the green +Create button in the top right corner of your screen, then select +Package.
- Give the package a Name and a Description (optional).
- We recommend providing a Package Code; this will represent the package throughout production and help you in manage packages in the long run. FLOW users will need to make sure this code matches the package map key within FLOW.
- Tick the Build Your Own Package box to allow a customer to customize a package to suit their needs. Click here to learn more about creating a BYO package.
- Tick the Allow multiple pose selections box if you want to enable your customers to choose more than one image for this product. This will prompt additional settings to choose from; use the help text provided to complete. You can also include a limit on how many poses are included by adding a value to the Limit number of pose selections option.
- If you are offering multi background selection but with a single pose image, you use allow multi pose but set the limit as 1. Then also turn on allow multiple backgrounds.
You can also add a cost per pose for additional poses over a value of your choosing. See our Charging for additional poses in a package article for more information.
- Click Add Image to choose a sample graphic that will be displayed for this custom product on your website. Learn more about your Media Library here.
- You can also add a Product Option, such as background selection. Both the product image and Product Options can also be added at the catalog level.
- Now is the fun part: design endless package options by adding Custom Products, Digital Products, and Digital Bundles together!
- Add a product by clicking on the drop-down box and searching for the product you wish to add. Searching by the product code will narrow down your search results. You can also adjust the quantity of the product included in the package.
- Click the Add Product button to add more products to the package.
- Add a product by clicking on the drop-down box and searching for the product you wish to add. Searching by the product code will narrow down your search results. You can also adjust the quantity of the product included in the package.
- Open the Advanced Configurations located directly beneath the newly added product to customize or override the product information.
- Tick the Ignore Green Screen box if this product will ignore the Green Screen option selected for the package.
- Tag rules allow you to control what images are made available to this product. Check out How to add group tags and tag rules and Creating a Tag on Yearbook Selection for more tips.
- Select the Taxable option as Yes if this product is subject to tax when being sold online. For more information on whether your item should be taxable or not refer to Taxable Items vs. Non-Taxable Items
- Once the package is complete, click Save at the bottom right corner of the page.