
Commerce
Watermarking help protect your images online and showcase your company brand. You can use a different watermark for different types of sessions/jobs; these can be easily configured within both a session template or session.
Jump to:
Creating a Watermark
- Click Customisations > Watermarks and then click the green +Watermark button at the top right corner of the window.
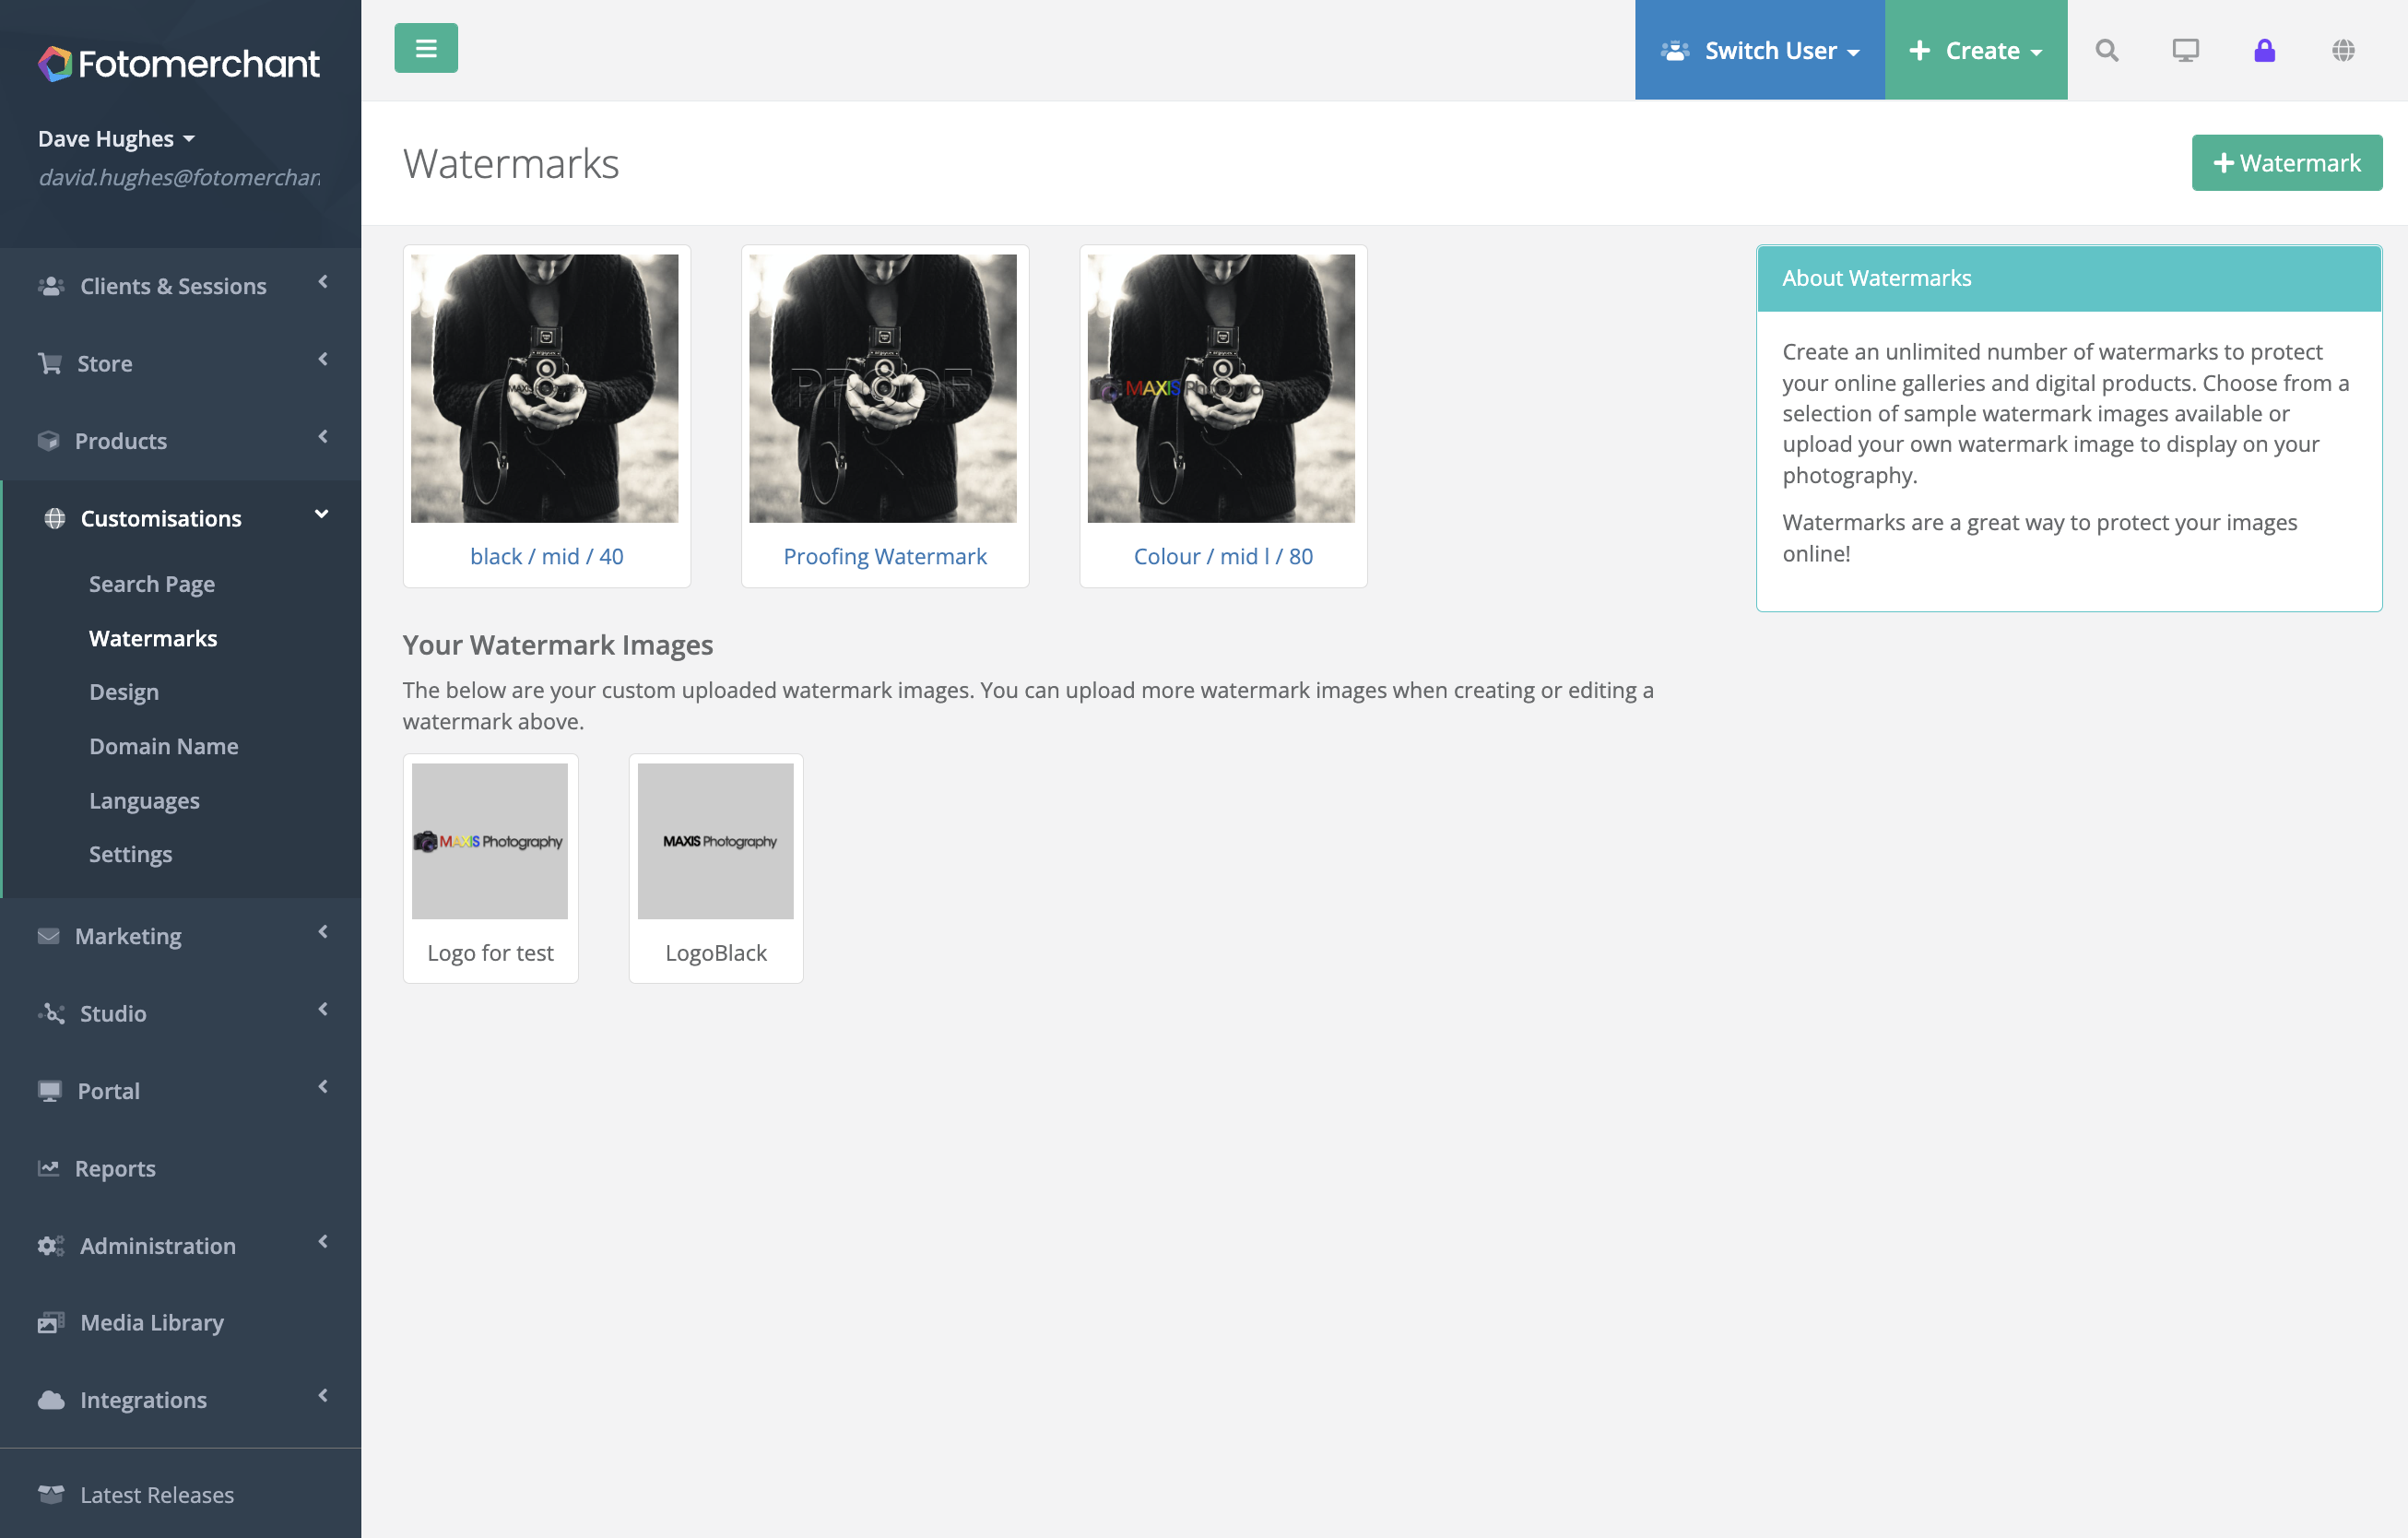
- Add a title in the text box, then upload the image for your watermark. You can do this by either drag and dropping, or by clicking the box and selecting the file from your computer.
- Position the watermark image by using the dot grid. Try a few different positions and see what works best for you. The Watermark Preview on the right of the page will update in real-time.
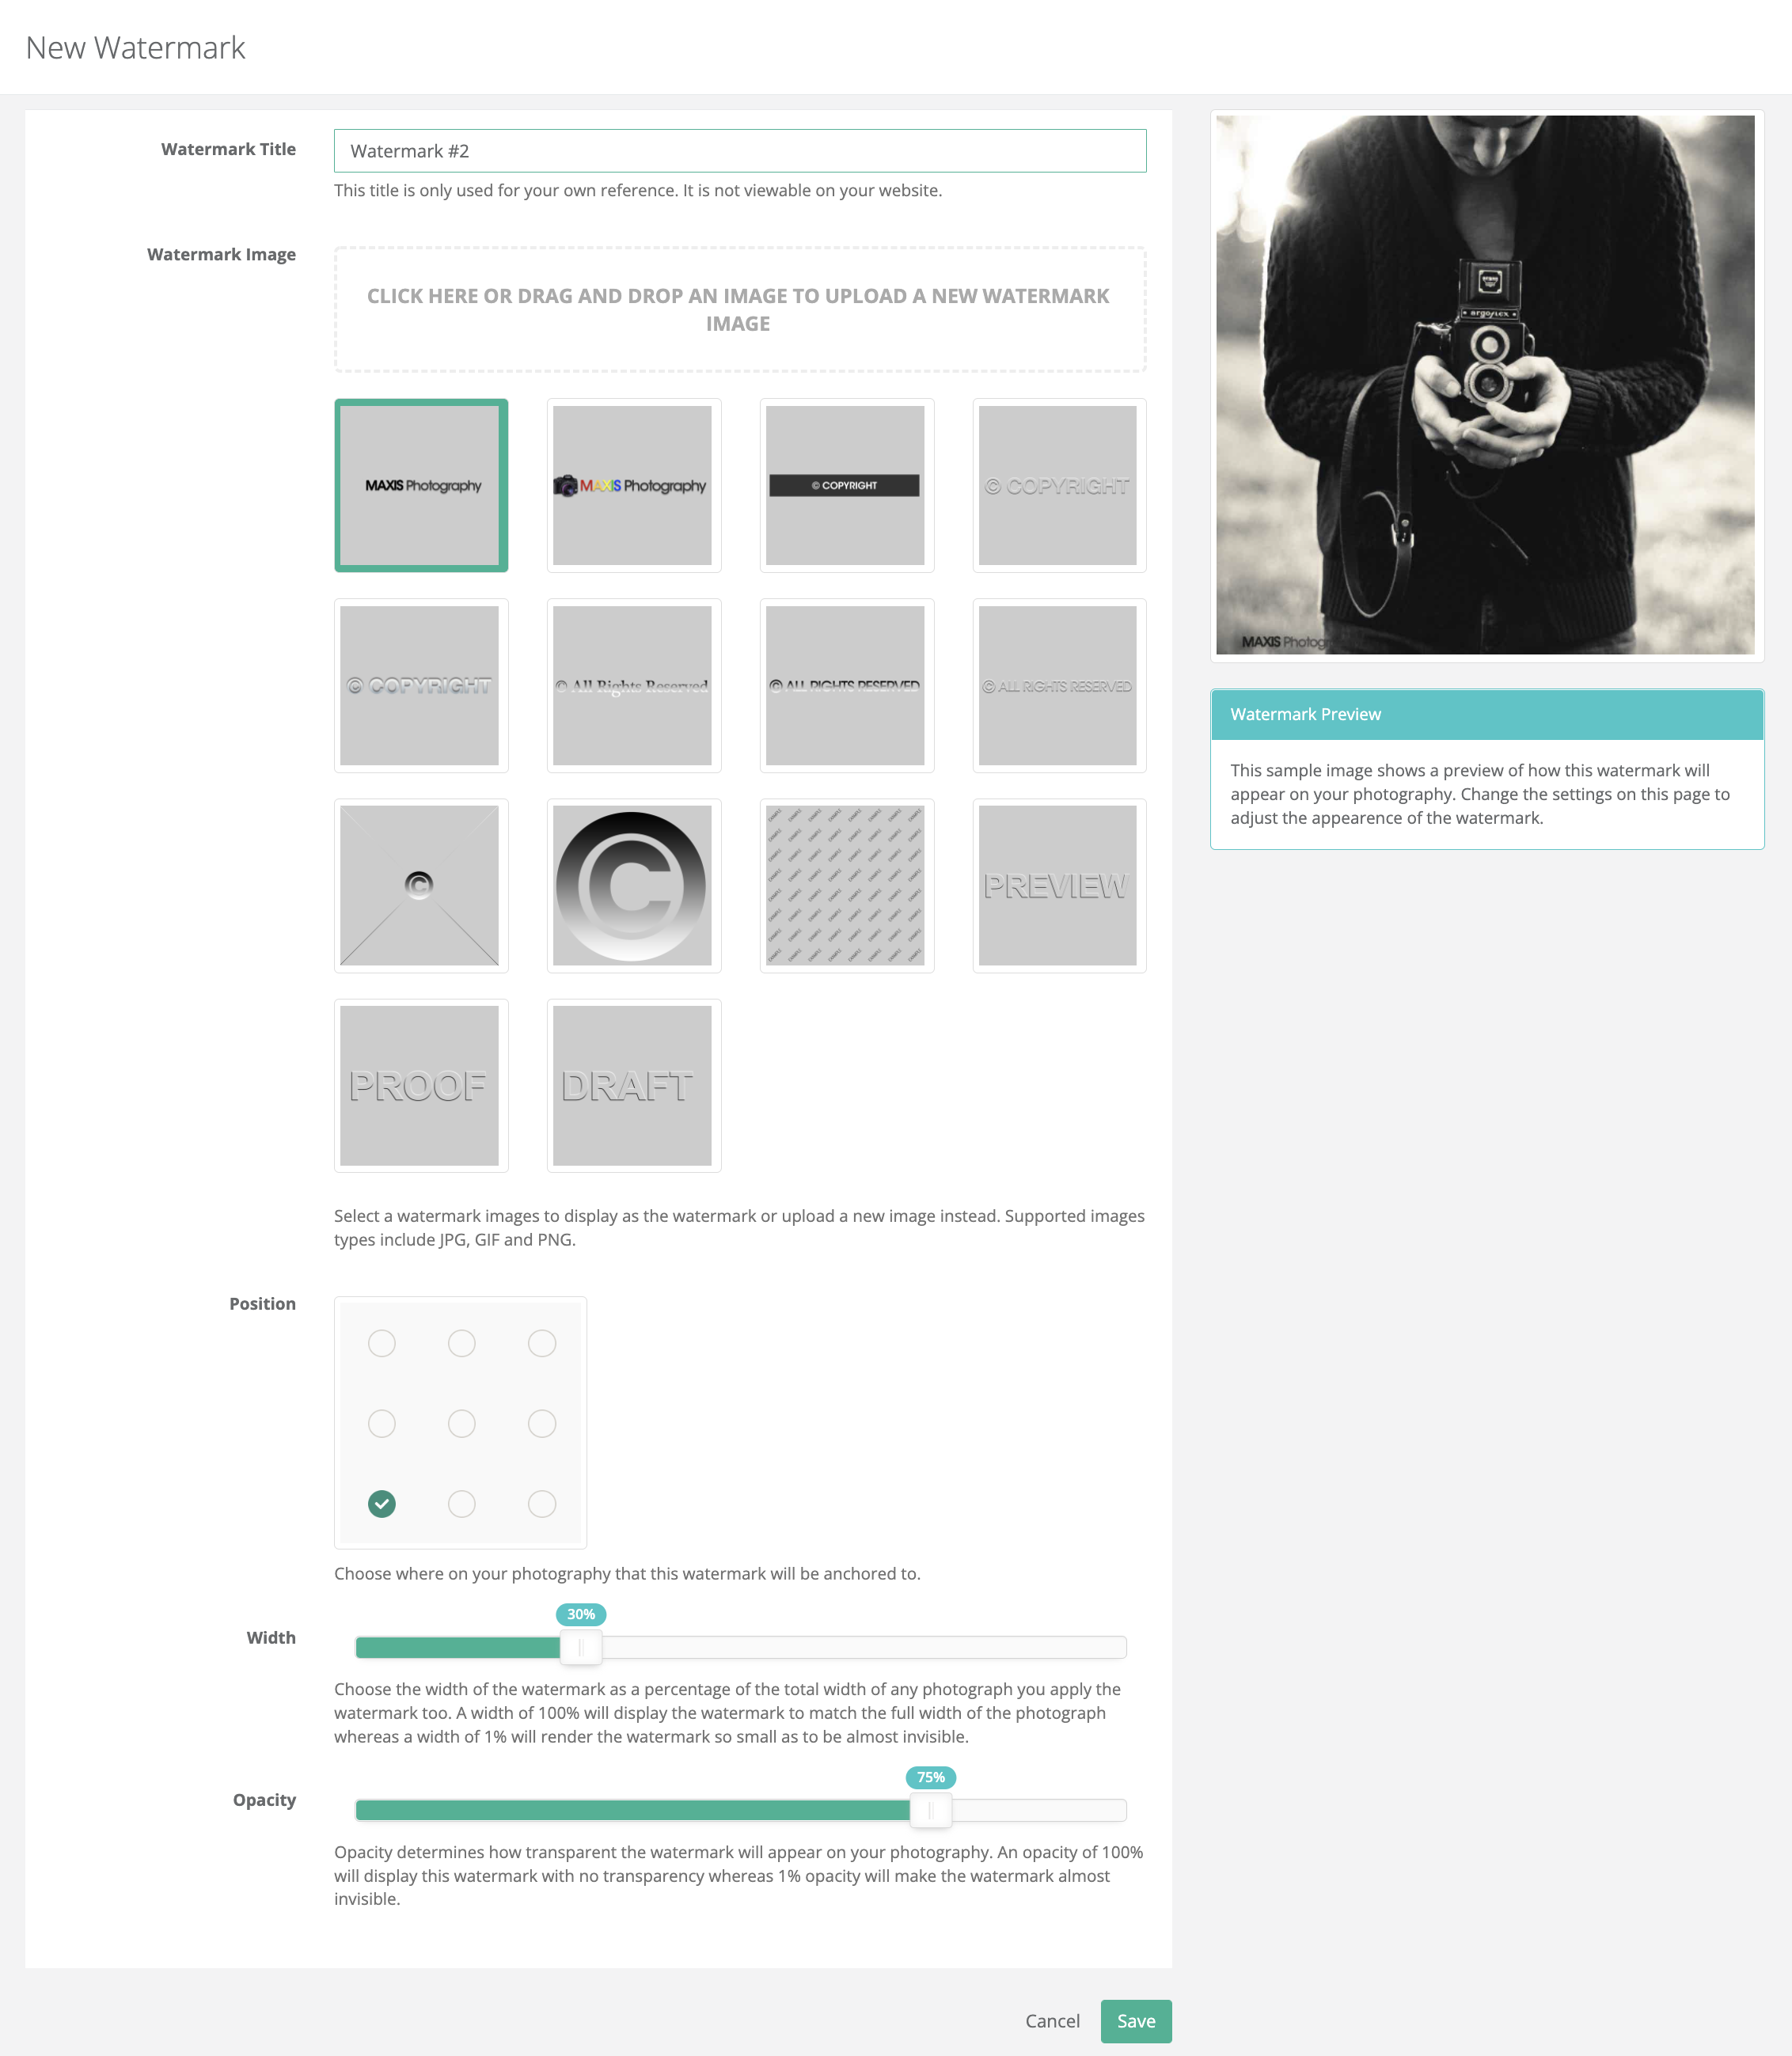
- Use the sliders to adjust the Width and Opacity of the watermark. Keep an eye on the preview to see how your changes will look.
- Once you are happy with the image, size, and opacity, click the green Save button at the bottom of the page.
Applying a watermark to a session
- Go into the Session or Session Template you would like to add the watermark for.
- Click on the grey Edit button in the top right corner of the screen.

- Scroll down to the Options section towards the bottom of the page.
- Click the drop-down for the Apply Watermark (optional) setting. This will show you all of the watermarks that you have created within your account.
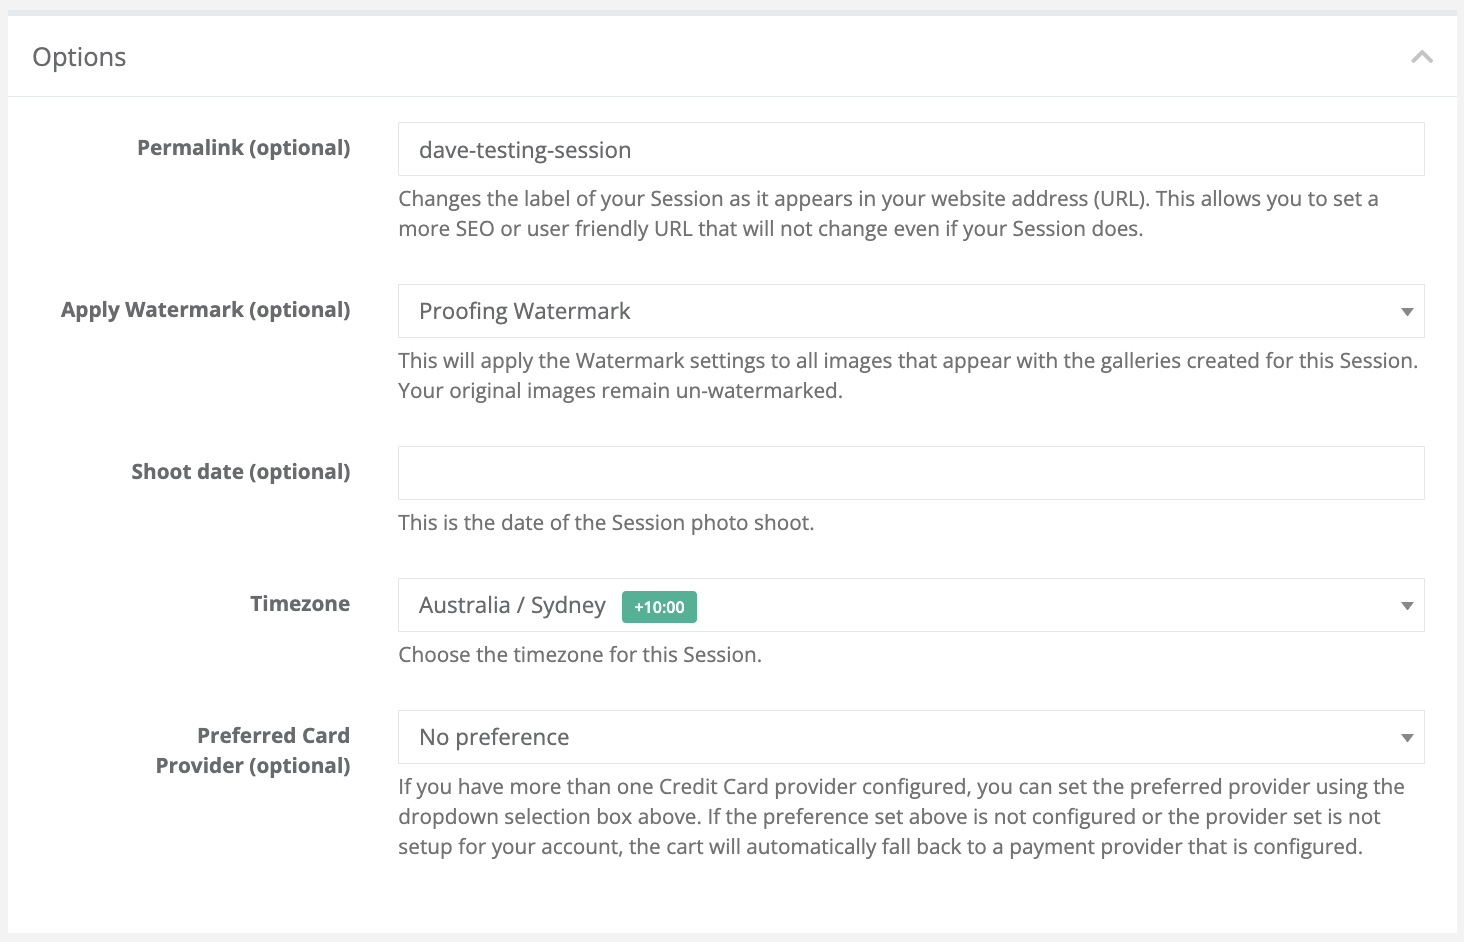
- Click on the name of the watermark you wish to use for this session or session template.
- Press the green Save button.