
This is a guide on how to create and set up Image Options. Image Options allow you to provide further customization when an image is selected for a package or product in the shopping cart. Yes, this can include retouching options – very exciting.
When an Image Option is selected for an image it will apply that option to all packages and products where that image has been selected. This is helpful when you are charging for retouching per image within multiple pose packages and products, as opposed to one price for retouching on the entire order.
Jump to:
Creating Image Options
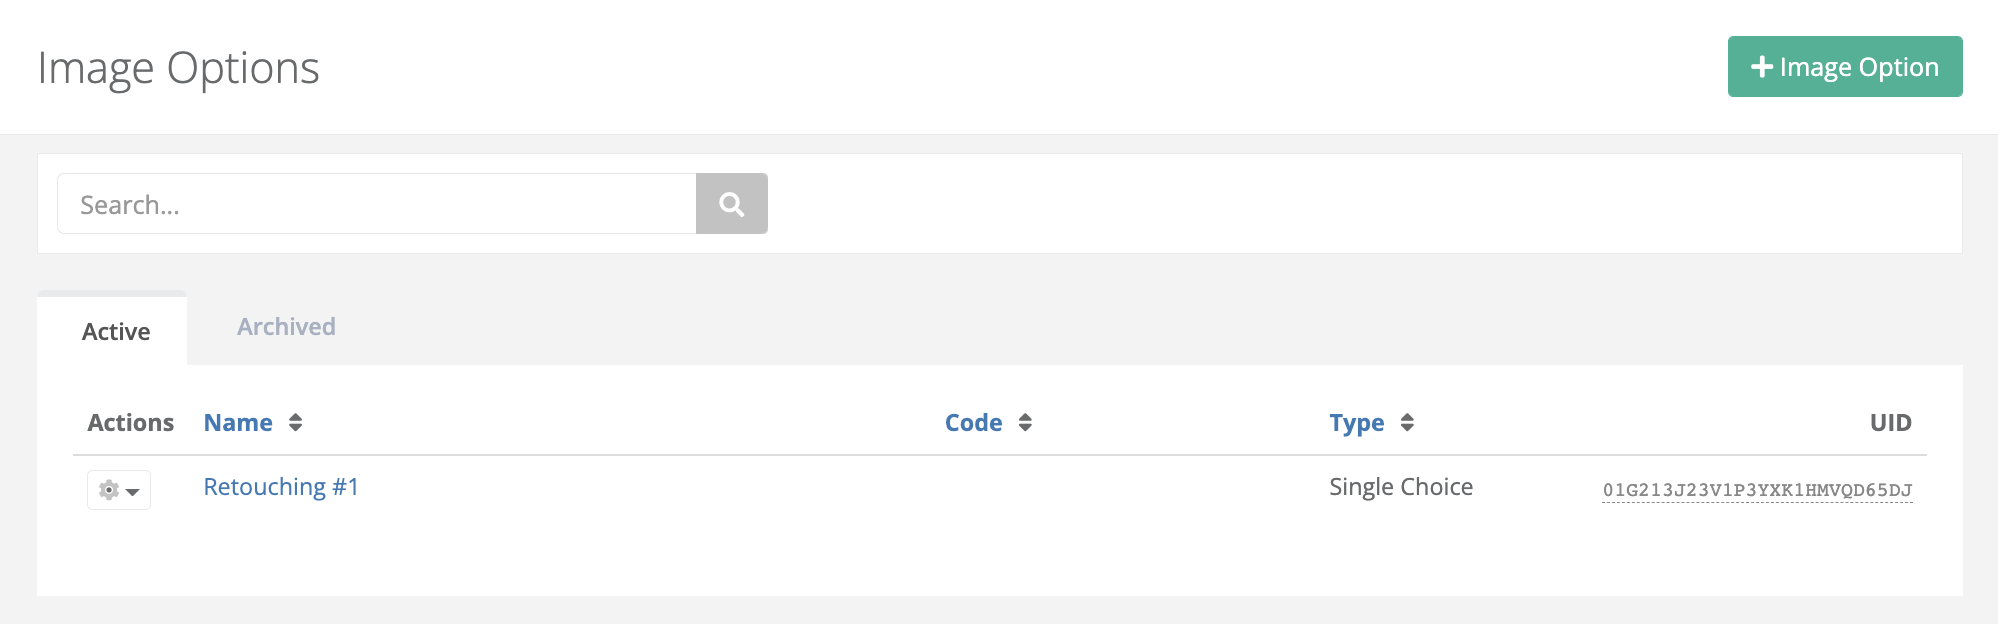
- Click Products > Image Options in the navigation menu.
- In the upper right corner, click the green +Image Option button to create a new option.
- Select the type of Image Option you'd like to create. These option types are Single Choice, Multiple Choice, Text, and Long Text.
- After making your selections and completing the necessary information, don't forget to scroll to the bottom and click the green Save button.
|
|
Note: When you return to the Image Options page you will see your new Image Option added to the list. Including codes will help you navigate this list. Now you will need to add the Image Options to the catalog. |
Adding image options to a catalog
- Click Store > Catalogs and select the catalog you need to update.
- Scroll down to Image Options (optional) and click the blue Add Image Option button.

- After clicking the button, a drop-down menu will appear. Select your choice of Image Option from the list and update the prices for each option item.

- Once all the details have been configured, scroll to the bottom and click the green Save button.
|
|
Note: Image Options are unable in a pre-pay stage within your session. The image needs to have been taken before an Image Option can be selected in the shopping cart. |
Key settings for Image Option types
Single Choice and Multiple Choice
The only difference between Single choice and Multiple choice is that in Multiple choice the customer will be able to make more than one selection.
- Expanded (Single Choice only): This Image Option will appear as Radio Buttons after choosing a product or packing it in the shopping cart.

- This is how the options are displayed when not using radio buttons.

- A Multiple Choice Image Option is probably ideal for retouching options so that your customers are not limited.

Text
The only difference between Text and Long text is that in Long Text the customer will be prompted to type in some multi-line text.
- Allow Notes: Tick this box if you would like to allow the customer to type notes for this option group. This allows the customer to indicate specific requirements or provide more information in regards to an option.
- A drop-down will appear with additional fields.
- A drop-down will appear with additional fields.
- Notes Title (optional): This will be the title of the notes field that is shown to the customer when they are configuring this option.
Long Text
- Number of Rows (optional): Set the number of rows the long text Image Option should display as. This is a display-only constraint and does not limit the number of lines that can be entered by the customer. Use the Character Limit option instead.
- Allow Notes: Tick this box if you would like to allow the customer to type notes for this option group. This allows the customer to indicate specific requirements or provide more information in regards to an option.
- Notes Title (optional): This will be the title of the notes field that is shown to the customer when they are configuring this option.